Note: This tutorial does not cover the green stuff work that will be needed or the final assembly of the back hatch and pipes as these are straightforward.
Materials Needed:
- Super glue
- JB Weld (optional)
- Q-tips
- Hand drill or Dremel tool with drill bits
- Magnets (3/16" used in this tutorial)
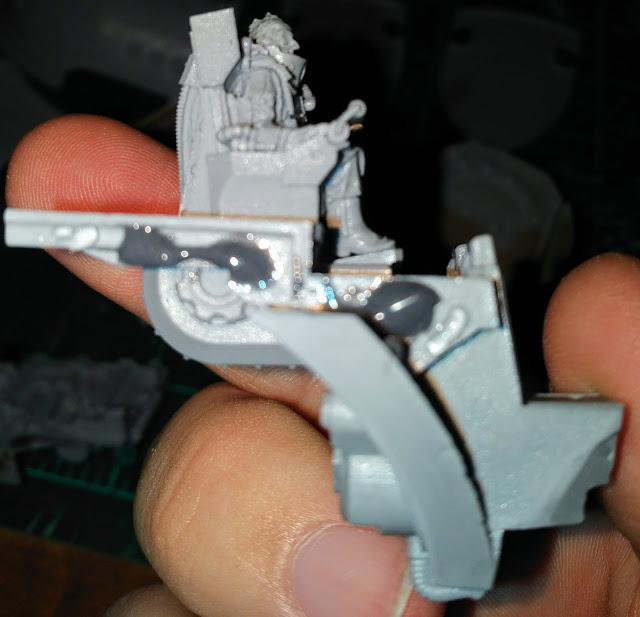
Step 1: Using your hobby knife, create a hatched set of score marks in the recess for where the Princep's MIU throne will be placed, as well as on the bottom of the throne. Add super glue to one of the surfaces and glue the Princeps in place.
Step 3: With the side walls of the cockpit fully cured, the two halves of the faceplate can be assembled. Even though the faceplate can fit together and be glued, several dryfittings should be done to ensure it contours to the cockpit. Place super glue along the join of the faceplate halves once ready to assemble and press it to the cockpit to ensure proper alignment. DO NOT glue the faceplate to the cockpit at this point.
Green stuff work may be required, as shown in the image below, to account for a gap that may develop in the halves depending on their alignment to the cockpit. This is not an abnormal gap, as other modelers have reported it as well.
Step 4: Install the Moderatii using the same procedures as outlined in Step 1.
Step 5: At this stage, if desired, the faceplate can be magnetized or glued on. If doing magnetization, key points must be chosen in order to ensure a good bond. For the purpose of this build, smaller magnets were chosen for ease of availability, but also to create several points of contact to create pull in multiple directions. Note that the neck socket has not been magnetized or shown. That will occur at a later time.
While the top carapace of the Warlord's head will sit with no issues and stay in place from gravity, a magnet was installed in the center of the carapace and the faceplate in order to provide additional stability and also to create an additional point of pull on the faceplate to keep it from dropping out of place. Care must be taken when drilling the top carapace's magnet spot as going too deep could result in puncturing the carapace.
Magnets were applied under the location for the Moderatii, at the angled section just above them, and then at the "horizontal" section of the cockpit above that. Corresponding magnets were applied at the same spots in the faceplate.
This provides a vertical pull at the Moderatii location to fight gravity and bring the faceplate "up" into the cockpit, a horizontal pull at the top most location to keep the faceplate tight to the build, and a set of magnets that combines both directions and adds further strength to the magnetic bond.
Step 6: The faceplate is either now magnetized or glued on. The cables that connect the faceplate to the cockpit can be glued on and reshaped using hot water as necessary. After painting, the back of the cockpit can be glued in place. It is recommended to leave the back of the cockpit off until after painting in order to make it easier to access all of the detail.
We hope you've enjoyed this building and magnetization tutorial.


Love seeing tutorials on this site, definitely tucking this away for the day I get a warlord!
ReplyDeleteOur Titans will have there own magnetic field by the time we are done with them. Great tutorial.
ReplyDeleteEspecially with my tendancy to overkill for the sake of safety.
DeleteGlad I found this. I prefer this method of the head build.
ReplyDelete