
Note: This tutorial does not cover the green stuff work that will be needed or the final assembly as some gaps form during the construction and several owners have reported it occurring.
Materials Needed:
- Super glue
- JB Weld (optional)
- Q-tips
- Clamps
The main body and the energy bank (the rear of the gun) can be glued together while the barrel assembly is drying. Test fit the pieces for alignment and then place JB Weld on the notch built into the parts (see the unboxing article for pictures). You can use more JB Weld than you would anticipate here and wipe away the excess with a Q-tip. This is due to the fact that a gap will occur when these two parts come together and the excess use of JB Weld will allow a partial fill of that gap which will also increase the surface area of bonding material, further increasing the strength of the bond. If placed on a properly flat surface and if the parts have been cleaned, you can place this assembly on the flat surface and gravity can be used to keep the parts in place while they cure.


(TOC Humor- The Washington Monument of Titan weapons)
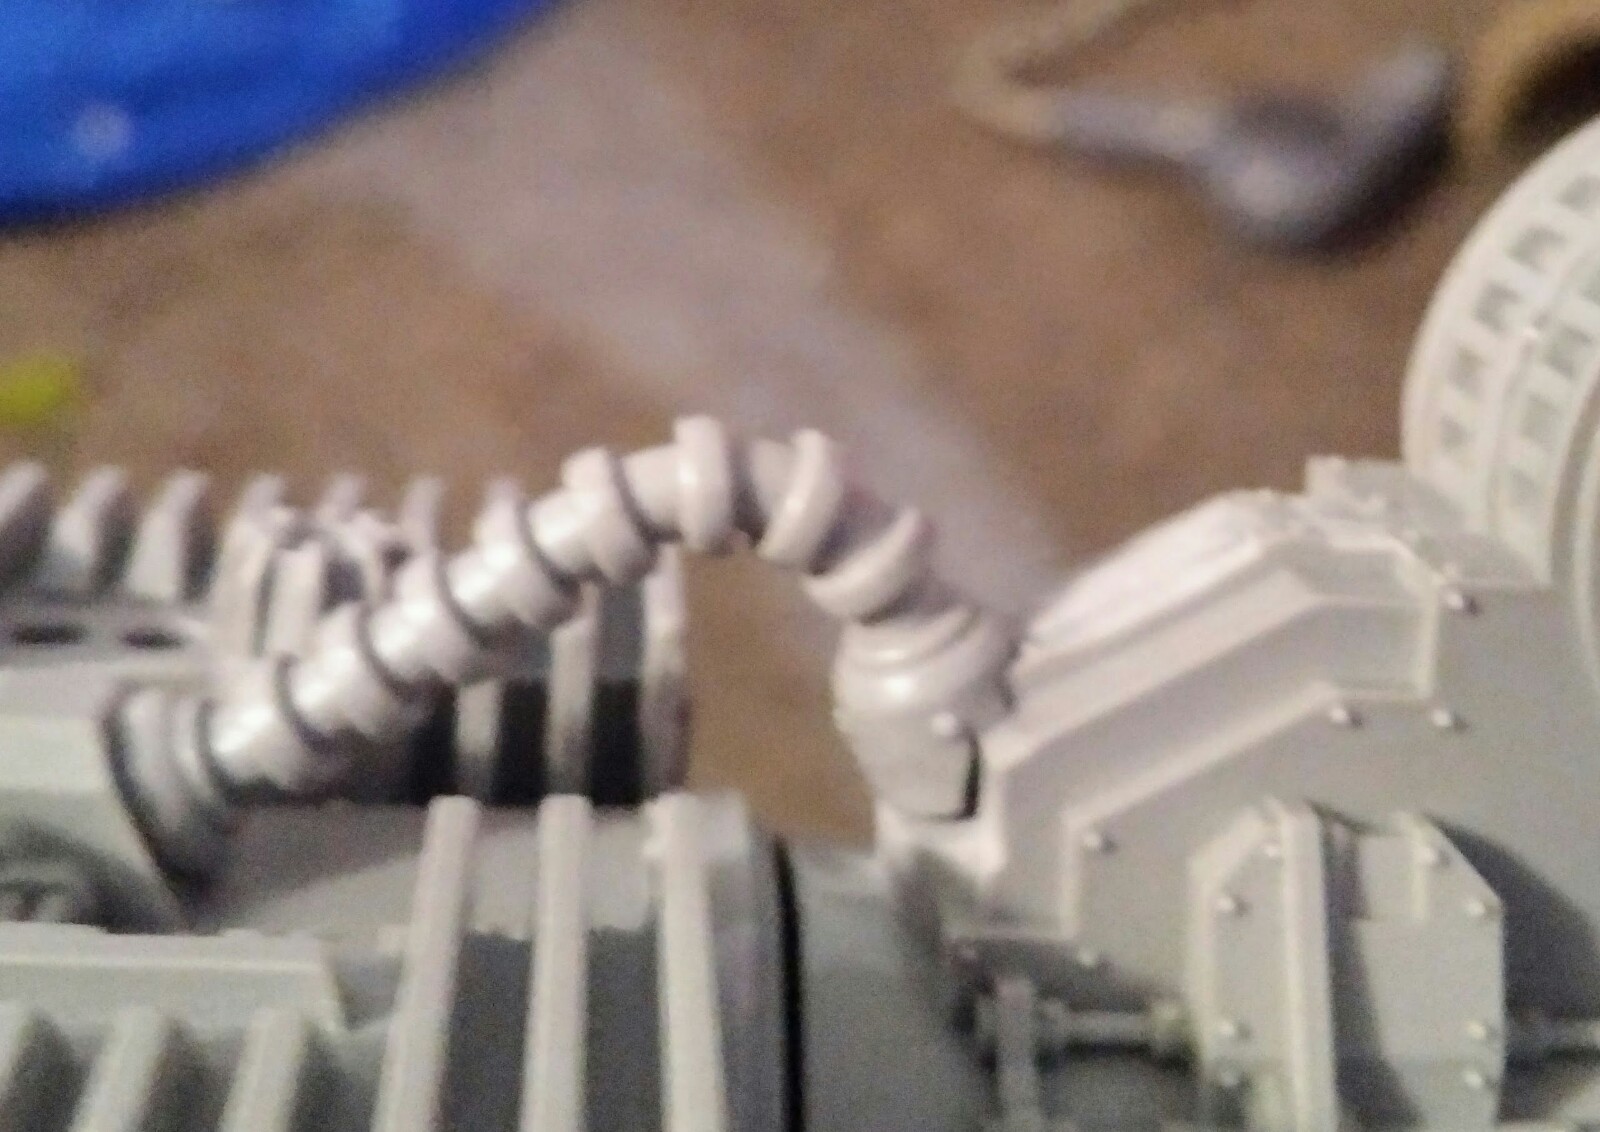
Step 3: Each side of the Belicosa Volcano Cannon has a set of pipes that go at the rear of the gun. These pipes are side specific but have slots and tabs built into them in order to place them. Once you've determined which pipe goes to which side you simply need to glue them in place with super glue. In addition, there is a pipe that goes on the bottom of the weapon. This can also be placed using super glue.

Step 4: The Belicosa's gun shield is held in place by a separate piece that can be placed on either side. Once you've determined which arm the weapon will be used on, you will place the connector on the same side of the gun as the arm is to the Titan (e.g. left side of the gun if on the left arm). Note that the connection is specific in alignment and some removal of resin may be required for it to fit properly. Super glue is sufficient for holding this part in place.

Step 5: At this stage, it is highly recommended to fill the gaps, then paint the parts and glue them together afterwards. This results in three sub-assemblies for painting: the main gun, the gun shield, and the gun cowling. The gun shield and gun cowling can be attached with super glue after painting has been completed.


We hope you've enjoyed this build tutorial.
No comments:
Post a Comment