
The beefiest of the plasma weapons in 40k, the Warlord Sunfury Plasma Annihilator is actually easy to build and goes together quickly. Today, we cover the build of this plasma-spewing weapon of war. This tutorial assumes that you've already cleaned the release agent from the parts, as well as removed the gates and flash.
Materials Needed:
- Super glue
- JB Weld
- Hobby knife
- Q-tips (to wipe away excess JB Weld on areas that will be visible)
Step 1: Score the main body and the power plant of the weapon with your hobby knife, then use JB Weld to secure the parts together.


Step 2: Score the central rail that holds the four plasma coils and the plasma coils themselves at the contact point. One by one, use JB Weld to build the barrel assembly, following the directions to ensure that the proper parts are in the proper position (there are specific upper and lower coils). If you wish to make sure you can get every detail, you will wish to paint these parts before completely assembling them. This tutorial does the full build before paint.


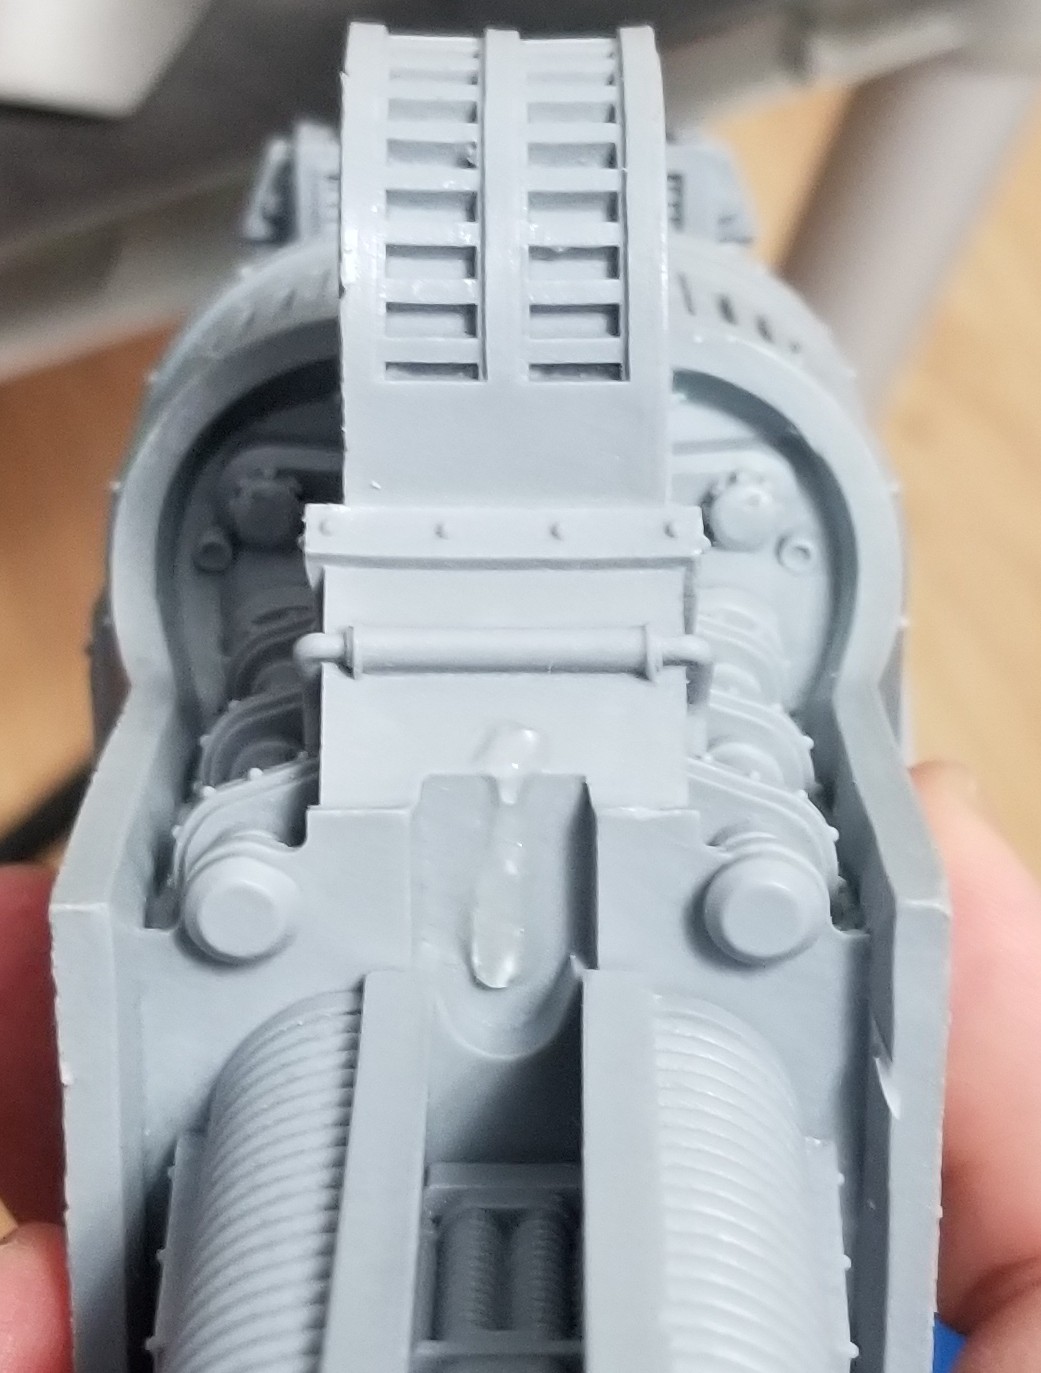
Step 4: Use super glue to place the hoses on the underside of the main body. The instructions will show which hose goes on which side.


Step 5: Use JB weld to attach the plasma canisters and assembly to the main body, then attach the hoses nearest the canisters to the main body. Once dry, use super glue to attach the second hose parts.


Step 6: Score the parts for the back cover and use super glue to attach them. Once fully cured, attach the main body and barrel assembly using JB Weld.


Step 7: Use super glue to place the targeting array and then the rails.


Step 8: Do green stuff work, paint, then bring ruin to your foes.


Step 2: Score the central rail that holds the four plasma coils and the plasma coils themselves at the contact point. One by one, use JB Weld to build the barrel assembly, following the directions to ensure that the proper parts are in the proper position (there are specific upper and lower coils). If you wish to make sure you can get every detail, you will wish to paint these parts before completely assembling them. This tutorial does the full build before paint.

Step 3: Score the barrel contact point and the inside of the upper assembly where the barrel goes and place the parts together. While that dries, use super glue or JB Weld to place the charging canisters on the assembly that will fit to the main body.


Step 4: Use super glue to place the hoses on the underside of the main body. The instructions will show which hose goes on which side.


Step 5: Use JB weld to attach the plasma canisters and assembly to the main body, then attach the hoses nearest the canisters to the main body. Once dry, use super glue to attach the second hose parts.


Step 6: Score the parts for the back cover and use super glue to attach them. Once fully cured, attach the main body and barrel assembly using JB Weld.


Step 7: Use super glue to place the targeting array and then the rails.

Step 8: Do green stuff work, paint, then bring ruin to your foes.

We hope that you have found this tutorial useful.
Can you mount the plasma canisters in different orientations depending on if you build it as a left or right arm?
ReplyDeleteYou can. The canisters and mounting bracket would just be turned (around the weapon) 180 degrees and face the other side.
DeleteI painted the cables separate before attaching so it’s easier to get to all the detail. I also had to shave down the targeter to fit proper, glad it wasn’t just mine.
ReplyDeleteSince I hand paint it wasn't bad to do the cables, but I do agree it makes life easier. As for that targeter, that sucked. The rest of the weapon goes together so amazingly well, then you hit that stupid thing and the rails.
Delete