
When Shadow was working on his Titan, all sorts of articles were created to show you how the build was accomplished. It seems somewhere in the datastacks, a servitor failed to call up the build article for the Arioch Power Claw and Apocalypse Missile Launchers. Today, we cover the build of the Arioch Power Claw. This tutorial assumes that you've already cleaned the release agent from the parts, as well as removed the gates and flash.
Materials Needed:
- Super glue
- JB Weld
- Q-tips (to wipe away excess JB Weld on areas that will be visible)
- Hand drill or Dremel tool with drill bits
- Drill
- Pinning material
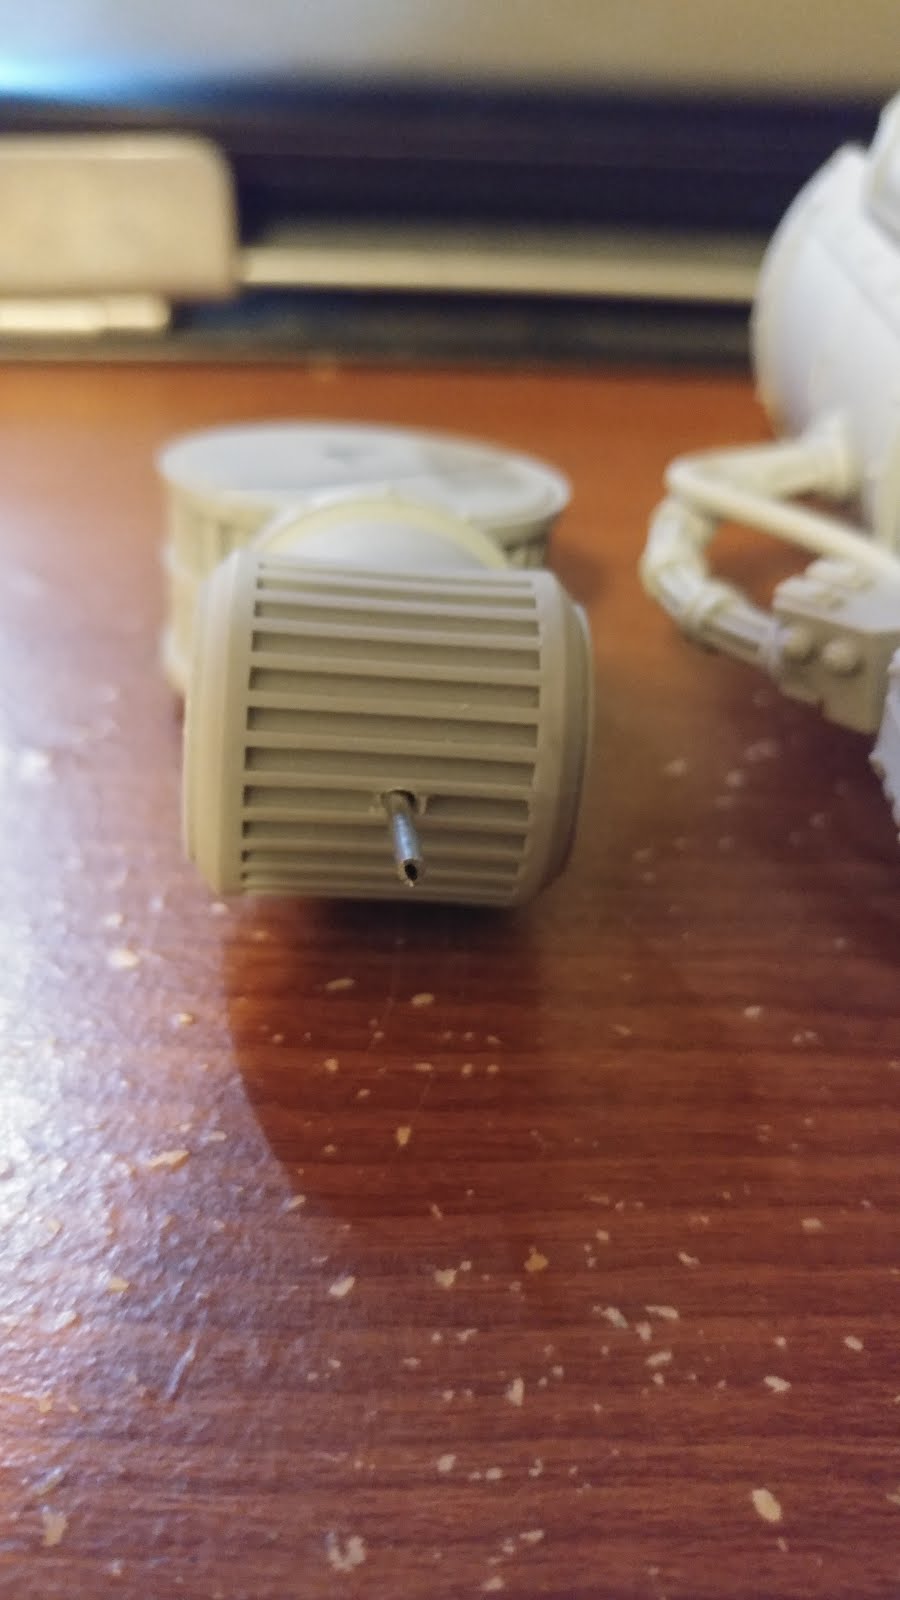
Step 1: Use super glue to attach the ammo hoppers and barrel assemblies on the wrist-mounted Vulcan Megabolter.


Step 2: Score the armor panels and lower portion of the hand, then use super glue to put them together. Use super glue to put the hand stabilizer together. Let these parts fully cure.


Step 3: Attach the hands upper armor to the hand itself. There are grooves built into the kit, so no scoring of the parts is needed. Once these parts have cured, place the stabilizer on what will be the "bottom" of the hand. Note that this position changes based on if the hand is meant to be the left or the right.


Step 4: Use JB weld to set the join between the elbow and wrist parts. Check the pose you wish before gluing these parts as this is where the Titan will turn the weapon upon its wrist. No turn in the wrist was used for this particular build, so the parts are built "in line" with one another. While those two parts cure, attach the stabilizer power cables to the stabilizer and hand using super glue. Then glue the thumb joint to the appropriate notch for the thumb. It will be in the slot opposite to the stabilizer's location.


Step 5: Use pins to strengthen the next parts, as the weight of the arm fully be placed on the next joint. Place the wrist and hand together using JB weld. Then build the fingers, using super glue. Using pins for the joints will keep them from breaking mid-game. Finally, add the pistons for each finger.


We hope you've enjoyed this tutorial and find it useful.
Excellent tutorial Shadow! Is the wrist mounted VMB easily magnetized?
ReplyDeleteNot really. It has one solid connection point, which also guides the position of the VMB to the correct location and facing, to mount on the wrist. To get a magnet big and strong enough to safety let it sit there would actually destroy that connection point, meaning gravity would eventually take over and make the VMB spin on that point and be misaligned.
DeleteI think you could add magnets on the inside of the hand armor and matching magnets on the bottom om the VMB. If you drill out the armor enough so that the intervening resin isn't to think I think the magnets would hold it in place. I will look into it once I get that far with the build of my power claw.
DeleteNow I have tried to magnetize the VMB. It turn our to be quite straight forward. I was able to place two pairs of 4.5 mm magnets on the armor rim on the back of the hand. The VMB is very well molded to the backside of the hand so it only needs some magnets to keep it attached to the surface of the hand.
Delete